

Boy oh boy, it has been a hot minute since I’ve made bagels! For a while there I was making them every week. And then life happened or something. I don’t know. And now I’m craving a nice crusty bagel again, so let’s whip up a batch! While we’re at it, let’s make some tasty miso-negi schmear to dress ’em up with!
“Hey, Alex,” you might be saying, “I scrolled down to the recipe and I see you’re calling them ‘Wheaty Bagels’ and not ‘Whole Wheat Bagels.’ What’s up with that?”
Well, what’s up with that is simply that they’re not 100% whole wheat. They’re more of a… whitewheat? Too wheaty to call them just plain Plain Bagels, but not wheaty enough to qualify as Whole Wheat Bagels. I worked out the baker’s percentages on this recipe for funsies, and these sit at 21/79% whole wheat/bread flour.
Why not go 100% whole wheat, though?
Let’s take the scenic route to that answer and first explain what, exactly, whole wheat is.
A kernel of wheat is kind of like a little nut. This is a super simple diagram, but it’s built about like this:
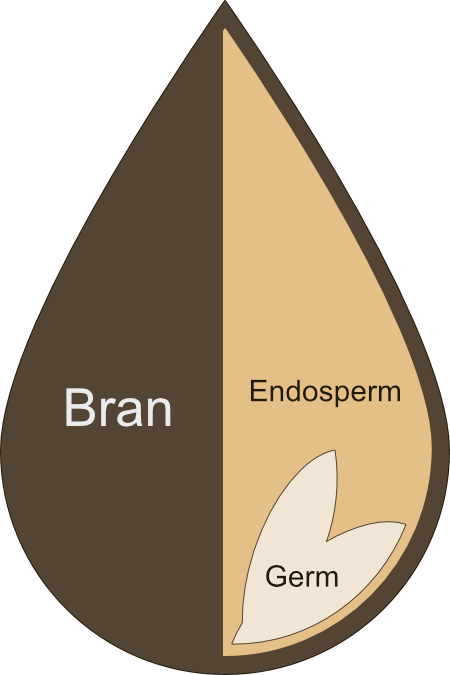
You’ve got the “shell” or the “skin” of the nut, which is the bran on the outside. Then inside that you’ve got the endosperm and the germ, which are the part of the nut you’d normally try to get to when you’re cracking nuts.
Your white flour is just going to use the endosperm, just the starchy white part of the wheat kernel. Whole wheat flour keeps all three parts, in the same proportions in which they occur naturally in a whole (duh) wheat kernel. And that’s great! The bran gives you more fiber and stuff, and the germ is full of vitamins! Together they’re better for you than just the starchy bit AND ☝️they taste better!
Except there’s one tiny problem.
That bran, you see, is very tough. And it has sharp edges when it’s ground into the little tiny bits that go into your flour. Now, they’re not going to hurt you. They’re way too small. But they will hurt something else, something you definitely want if you’re going for a nice soft-yet-chewy texture in your bread…

Yes, those sharp little bran bits can actually physically damage the gluten structure of your dough! This is why it’s really hard to get a nice gluten network going in a 100% whole wheat dough. And without that nice sturdy gluten network, it’s hard for the dough to hold in all those yeast farts long enough to puff up into a soft chewy piece of bread. Instead, straight up whole wheat breads tend to have a texture that’s not really the texture that I, personally, dig in a bagel. Your mileage may vary.
So, to answer our original question: why the whole wheat/bread flour combo supreme? You use a combination so you can get the flavor and heartiness of the whole wheat, plus the gluten development and nice soft-yet-chewy texture from the higher-protein bread flour. I also let the whole wheat flour soak in part of the water for a little while before I start mixing and kneading everything else together. It’s not a proper poolish or preferment or anything like that, we’re not adding yeast at this point, it’s just a little soak to help dull the edges of those little bran daggers.
Let’s Bagel!
After your whole wheat and water have had some time to hang out, we mix the rest of the dough together. Note that the recipe calls for “warm” water. Not cold (will put your yeast to sleep). Not boiling (will put your yeast to sleep forever). Warm. There’s an ideal temperature range where yeast is happiest, but in general if you shoot for “feels like a person” temperature, you’re good.
You can use a stand mixer with a dough hook attachment. You can use your very own fingies. You can start with the mixer and finish by hand. Whatever you like.
Your dough will not look right when it first starts coming together. Resist the urge to add more water. If you’re kneading it by hand all the way through, resist the urge to cover that sticky lump with more flour. Trust the process. Keep kneading. Eventually your crumbly chunks will come together into a sticky lumpy mass. Eventually your sticky lumpy mass will mellow out into a smooth, supple dough that will stick to surfaces if it’s left still, but can be manipulated without it trying to become one with your fingers.
How do you know when your dough is ready to take its first nap? There’s something called the “windowpane test” which I’d love to show you a picture of, but photographing that would take more hands than I, an average human person, was blessed with. Let me describe it as best I can: pinch off a ball of dough about the size of a walnut. Flatten it out, hold it up to the light, and try to stretch it thin enough that you can see light through it. If you can do this without tearing it, your dough is ready for its first proof. If not, give it a little more elbow grease.
If your dough starts to fight you back while you’re kneading it, STOP! Put it in a lightly greased bowl, cover it with plastic wrap, and put it in a warm place to proof right away. What’s happened here is that you’ve overachieved. Your gluten network is overdeveloped, which is not necessarily a bad thing in and of itself. But in its current state… well, what happens if you stretch a rubber band as far as it’ll stretch and keep pulling it? The same thing that will happen to your gluten network if you keep trying to wrestle with your dough: it will break. Once it breaks, you probably won’t get it back. Your dough will become too soft and too slack to rise. Letting an overworked dough rest as soon as it starts fighting back will give the gluten strands time to relax and adapt to their new shape.
You don’t need a fancy proofing box for your dough. All you need to do is put it in a bowl, cover it with plastic wrap or a tea towel, and park it in the oven with just the light on. Before you do, note the size of the dough. You can do this by taking a picture, or by drawing a circle on the plastic wrap with a Sharpie, or whatever works for you. This way, you’ll know when it’s time to take the dough out.
A few things happen during that first proof, alias the “bulk ferment.” Your yeast has a great big party, eating sugar and farting carbon dioxide and making little yeast babies that carry on the family tradition of eating and farting. This is what makes your dough rise. It also helps your dough develop flavor. A couple of other interesting things happen, too. For one, letting your dough rest lets the moisture in the dough evenly distribute itself through all that flour. And for another, that gluten network you worked so hard to build up relaxes and adapts to its new shape and actually becomes stronger and more resilient as the dough rests. The first proof is absolutely crucial. You cannot skip it.
The Home Stretch: Shaping, Boiling, and Baking
You’re going to notice some changes in your dough when you plop it out of the bowl after its first proof. It’ll feel lighter. It’ll feel fluffier, thanks to the yeast farts trapped within (which you actually do not need to completely beat out of the dough!) And most notably: it’s going to behave. It won’t stick to your fingers anymore. You probably won’t even need a sprinkle of bench flour on your work surface anymore. It will be soft and pliant and it will cooperate with you. So now, it’s time to turn it into bagels!
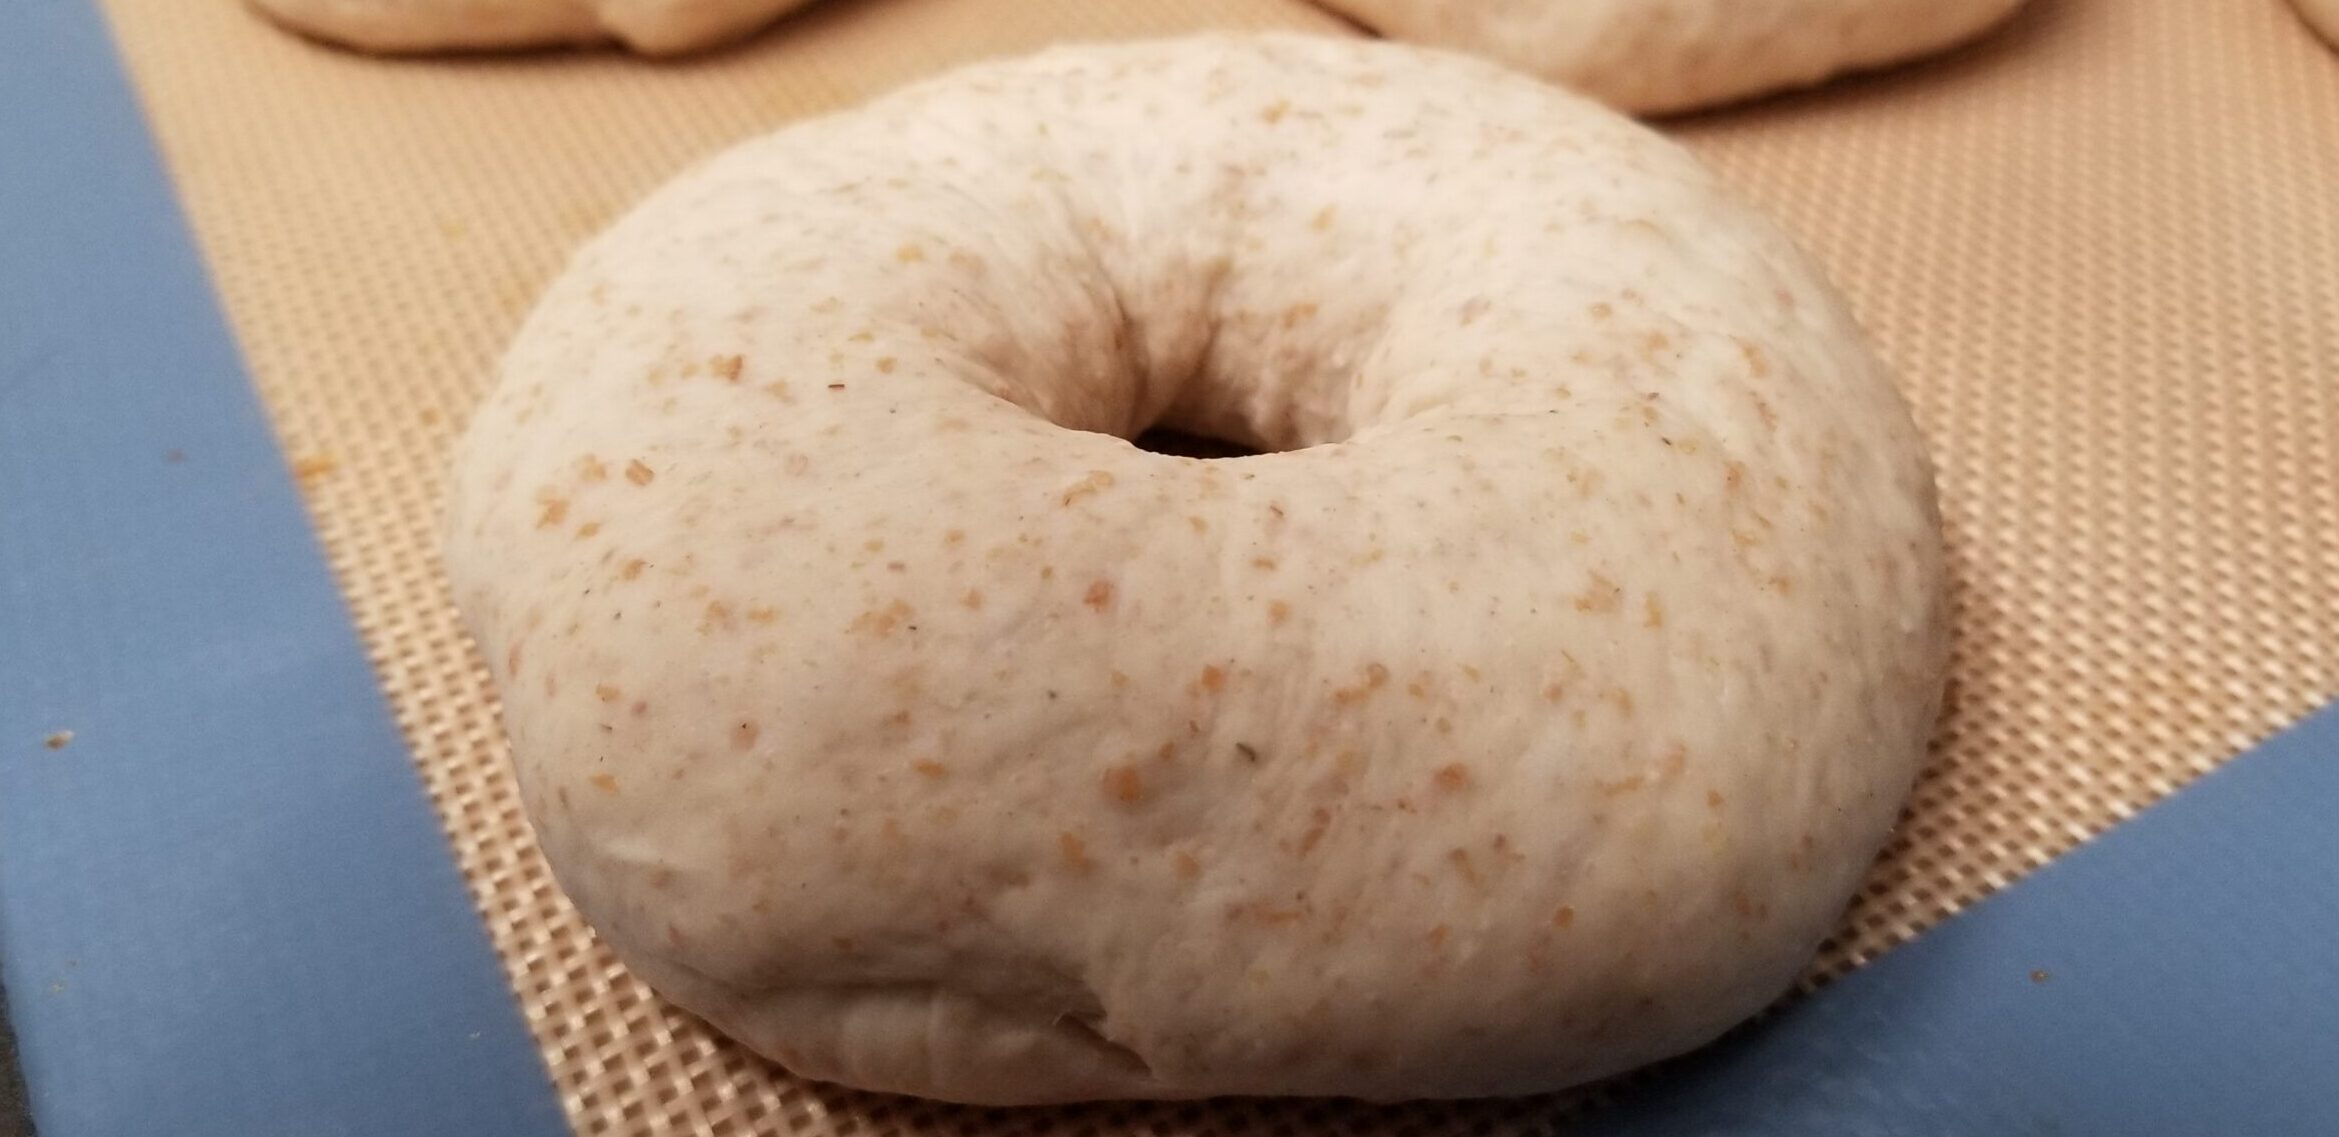
There are a couple of ways to shape bagels. The traditional way is to roll each piece of dough out into a rope, wrap the rope around your hand with the two ends under your palm, and roll that part on your work surface until the ends are stuck together. I personally have a hard time making my bagels come out nice and even with this method, and also even though I know it’s traditional, it leaves a bigger hole than I like (shut up). The easier way is to roll the dough into balls, kind of pinch your thumb and forefinger together through the very center of each ball, and use your fingers to kind of twirl and stretch the dough into a bagel shape. This will leave a smaller hole for easier schmearing/sandwiching/burgering/pizza-ing of your bagels. Kye over at King Arthur can show you how to do both of these methods. Do keep in mind that whichever method you use, the hole will close somewhat during that final proof.
While your shaped bagels are hanging out and puffing back up, get your bagel spa ready. Use the biggest pot you have. A wok works too. Or a really deep chicken frying skillet. As long as it can hold enough boiling water for bagels to float in, it’ll work.
The amount of water you’ll need depends on the size of your pot; generally I use about 4 quarts in my wok. Add some brown sugar–this will add flavor and help the bagels brown in the oven. If you have malt syrup, you can use that instead. You can also use baking soda if you want a more pretzel-y finish on your bagels (use about half as much as you would sugar). If you have access to food grade lye and you know how to use it safely, go for it. If you have access but don’t know how to use it, please ask someone else. I’m not touching that shit.
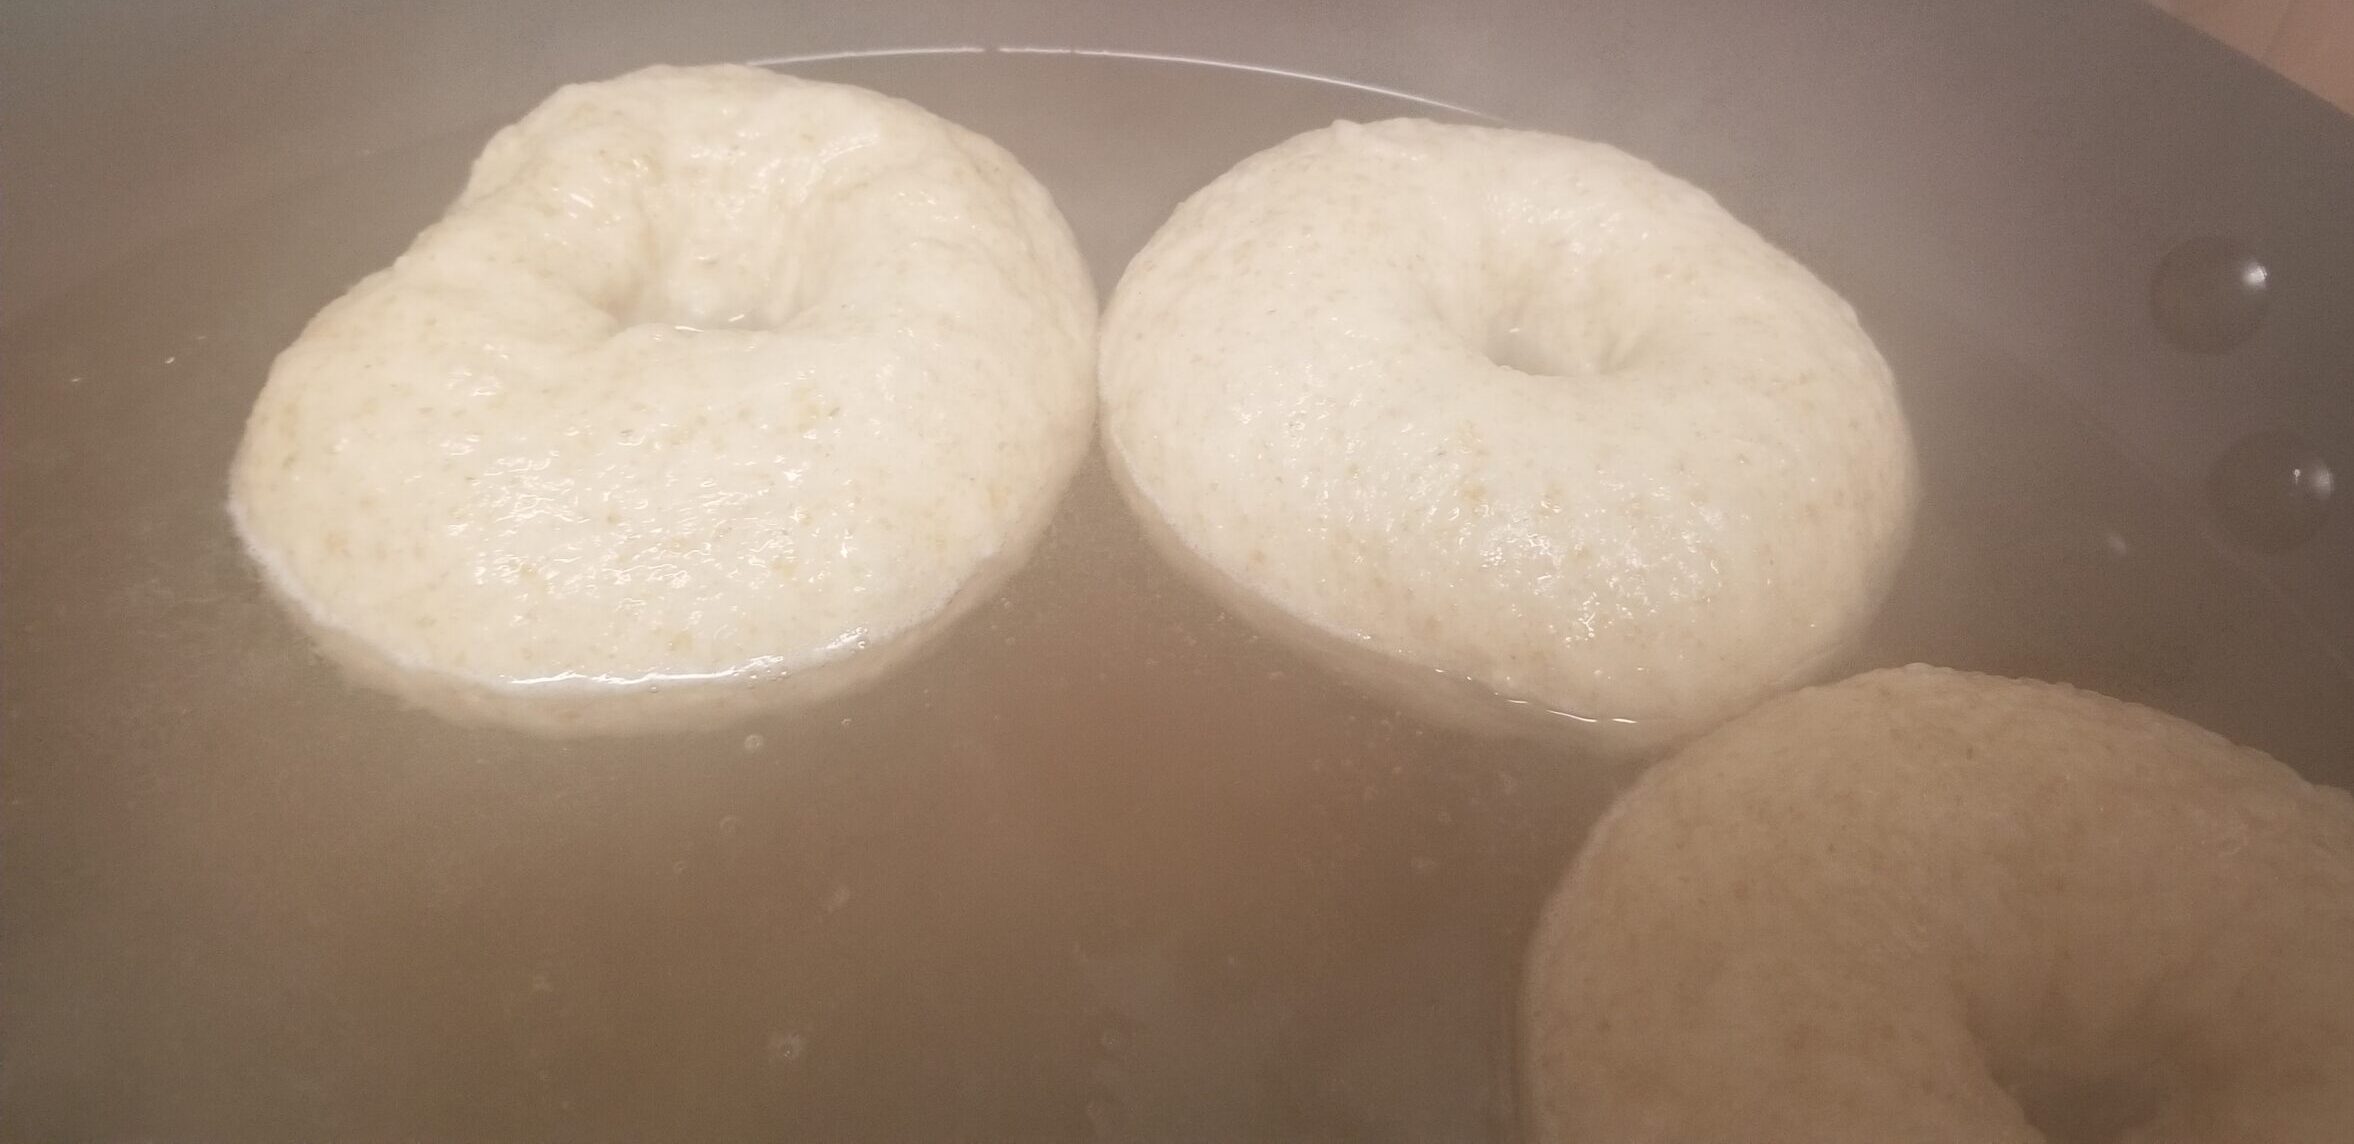
When the water starts boiling, you can slip your bagels into their bath. Put as many in the pot as you can fit without overcrowding. It’s fine if they bump into each other a little but can still swim around. It’s not fine if you have to smush them in. They will expand in the water so watch out. Boil, flip, boil, and then scoop ’em out with a spider and gently shake the excess water off. Plop them back on the sheet pan (they’ll be wrinkly, that’s okay, it’s part of their charm). If you see any blister-like bubbles on the surface, leave them alone. Those will crisp up real nice in the oven.
Why do we need to boil bagels? Basically, boiling pre-gelatinizes the starch on the outside of the bagel and helps to form that scrumptious crusty chewy outside. You can just hum your bagels right into the oven, but they won’t have the same bite as a proper boiled bagel.
Once your bagels come out of the oven, resist the temptation to cut into them right away. Let them cool to the “pleasantly warm” stage. Cutting into oven-fresh bread lets all the steam out before it’s finished doing its job and you end up with gummy insides. Let ’em rest. Then slice them in half and slather them with the schmear of your choice.
Schmear Them Thangs
Now, if you want to go full ham and make your own schmears, you can whip them up while the dough is rising or the bagels are baking. Really, all that entails is “dump room temp cream cheese into bowl, mix stuff into it, put on schmear vehicle, put in face.” However, I prefer to make my schmears a day ahead of time, just to give all the flavors time to get comfy with each other in there.
Honestly though, you don’t really need a recipe for schmear. You take some cream cheese. You think of a combination of things that taste good and would taste even better in cream cheese. You put the tasty things in the cream cheese until it tastes the way you want it to taste. That’s… pretty much it, bro. Use your imagination. I’ve done sweet cinnamon raisin that skirts the line between schmear and cream cheese frosting. I’ve done a spicy kimchi schmear with the mountains of bangin’ kimchi my aunt makes and gives me huge jars of. I’ve done hatch chili popper schmear with sharp cheddar and bacon bits (I’m not a fan of the flavor of jalapeños, but hot hatch chiles are great). I’ve done straight up ranch dressing mix in cream cheese. But my favorite, the recipe for which I’ll drop below, is the miso-negi schmear that was inspired by all the wild and delicious-looking shit Japanese bakeries are doing with bagels these days.
Happy bageling!
Wheaty Bagels

Chewy, hearty bagels made with whole wheat and bread flour. Adapted from King Arthur’s bagel recipe.
- Prep Time: About 30 minutes hands-on, plus proofing time
- Cook Time: 22-25 Minutes
- Total Time: About 2 1/2 – 3 1/2 hours
- Yield: 8 to 10 bagels
- Category: Bread
- Method: Straight Dough
Ingredients
For the bagels:
- 100g whole wheat flour
- 100g warm water
- 380g bread flour
- 9g instant yeast
- 12g salt
- 14g brown sugar
- 203g warm water (yes, more water)
For boiling:
- About 7g (1/2 Tbsp) brown sugar per quart of water
Instructions
- Combine the whole wheat flour and 100g of water. Mix until thoroughly combined, then cover and let rest in a warm place for about 20-30 minutes.
- After resting, add the bread flour, yeast, salt, brown sugar, and 203g of water. Knead by hand or in a stand mixer fitted with the dough hook attachment until the dough is smooth and passes the windowpane test.
- Form dough into a smooth ball, place in a lightly oiled bowl, cover with plastic wrap, and proof in a warm place until the dough has doubled in size (about an hour)
- Divide dough into 8-10 equal portions, depending on how big you want your bagels. Shape bagels and place on a sheet tray lined with parchment or a silicone mat. Cover loosely with plastic wrap or a clean tea towel and let rise about 20 minutes.
- Preheat oven to 425°F. Fill a large pot with water and add brown sugar. Heat to boiling, stirring to dissolve sugar.
- Drop bagels into boiling water, bottom side up, without overcrowding; it’s OK if bagels occasionally bump into each other but shouldn’t be touching constantly. Boil for 2 minutes. Flip and boil 1 more minute. Remove bagels with a strainer or spider, shaking off as much water as possible, and place on sheet pan.
- Bake 22-25 minutes, until golden brown. Let cool before slicing.
Notes
- Don’t slice bagels fresh out of the oven. Give the steam time to do its thing.
- For cheese, seeded, or everything bagels: take bagels out of the oven after about 15 minutes. Brush with egg wash, sprinkle on toppings, return to oven. You can sprinkle toppings on after boiling, while bagels are still wet; personally I think they get a little overcooked this way. It’s up to you.
Miso-Negi Schmear

An umami-rich bagel schmear combining savory miso with brightness and crunch from green onions.
- Prep Time: About 10 minutes
- Cook Time: N/A
- Total Time: About 10 minutes
- Yield: About 9-10 oz. finished schmear
- Category: Sauces and Spreads
- Cuisine: Japanese inspired
Ingredients
- 1 8-oz. package cream cheese, room temperature
- 1-2 tbsp. miso (red, white, whatever kind you have)
- 2 green onions, white and green parts, chopped fine
- Toasted white or black sesame seeds (optional)
- Dash of soy sauce (optional)
- Milk or heavy cream as needed (optional)
Instructions
- Combine cream cheese and miso in a large bowl or stand mixer with the paddle attachment. Mix until thoroughly combined.
- If you prefer a softer, whippier schmear, add milk or cream a tablespoon or two at a time and mix well until desired consistency is reached.
- Add green onion and sesame seeds (if using), mix until evenly distributed.
- Taste for seasoning. If the schmear needs more salt, add a little soy sauce.
- Serve on bagels, crackers, flatbreads, raw veggies, etc. Store in an airtight container in the fridge for up to 7 days.
Notes
- Add a little shichimi togarashi (Japanese chili powder) or la-yu (chili oil) for a spicier schmear.
Leave a Reply